Physical Address
304 North Cardinal St.
Dorchester Center, MA 02124
Physical Address
304 North Cardinal St.
Dorchester Center, MA 02124
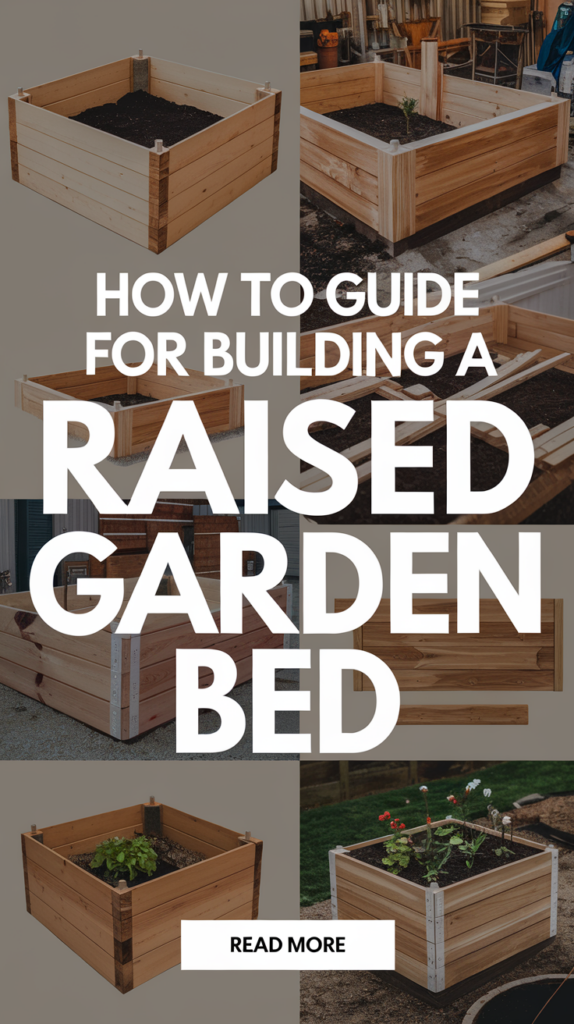
Ready to elevate your gardening skills? Learn how to build a raised garden bed quickly and easily with our step-by-step guide.
Imagine stepping into your backyard and being greeted by a vibrant, thriving garden that’s as beautiful as it is productive. For many of us, gardening isn’t just about growing food—it’s a way to connect with nature, relax, and enjoy the fruits of our labor. But what if you could take your gardening game to the next level with a simple, efficient solution?
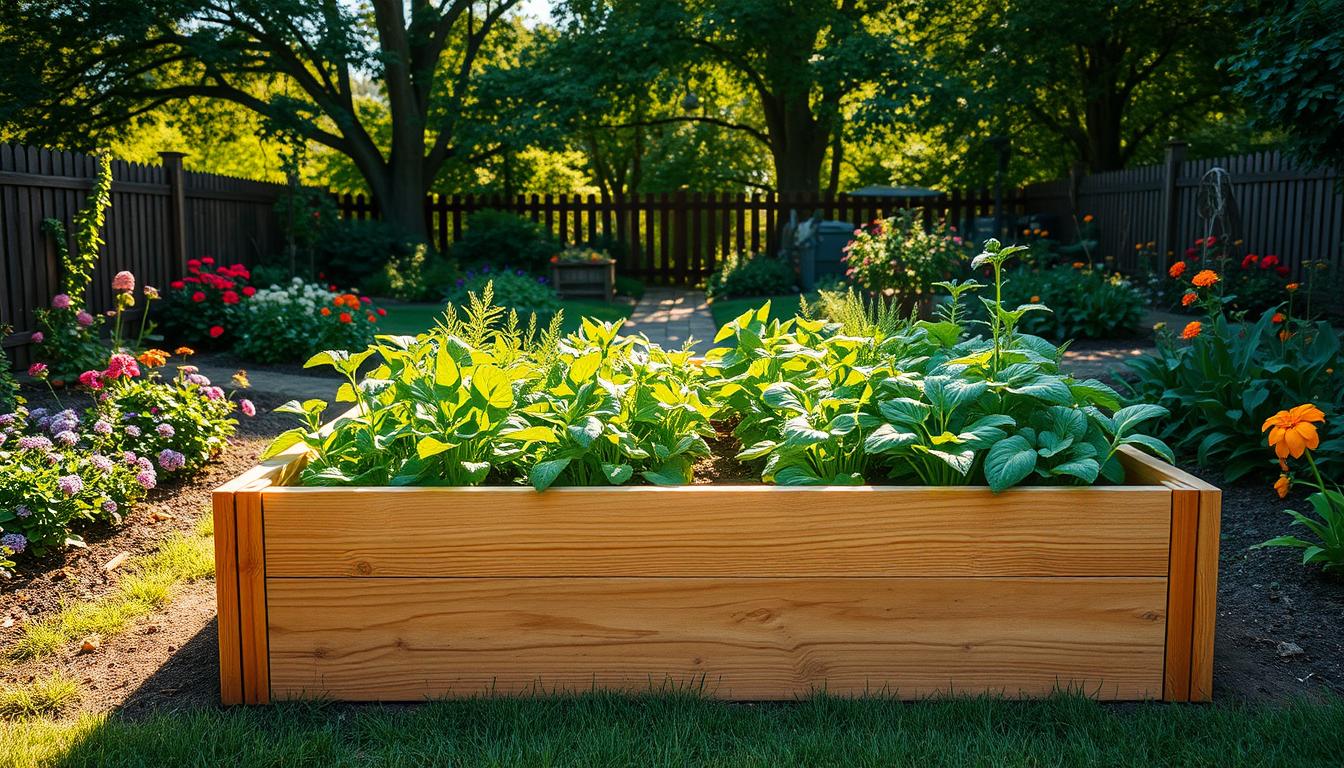
Enter the raised bed, a game-changer for gardeners of all skill levels. Whether you’re a seasoned pro or just starting out, a well-designed raised bed can transform your outdoor space. Not only does it enhance the aesthetics of your garden, but it also improves drainage, boosts soil quality, and makes maintenance a breeze.
In this guide, we’ll walk you through the process of creating your own raised bed. From selecting the right materials to laying out your plants, we’ll cover it all. By the end of this article, you’ll be ready to create a stunning and functional garden that will be the envy of your neighborhood.
Before you start constructing your raised garden bed, it’s essential to plan carefully. This step ensures your project turns out successful and meets your gardening needs.
A flat, sunny spot is perfect for your raised garden bed. Most plants need at least six hours of sunlight daily to thrive. Choose a location with level ground to make construction easier. Clear the area of any vegetation and debris to prepare the site.
Soil quality plays a crucial role in plant growth. Test your soil and amend it with nutrient-rich compost if necessary. This step will help create a fertile environment for your plants to flourish.
Your raised bed’s size should fit your space and gardening goals. A common size is 4 feet wide and 6-8 feet long, allowing easy access from all sides. Use durable, untreated wood like cedar for the frame, ensuring it’s safe for your plants and long-lasting.
Planning ahead helps avoid issues later. Consider the materials’ durability and your garden’s specific needs to create a functional and enjoyable space.
Discover the transformative power of raised garden beds for your outdoor space. These beds offer numerous advantages that can elevate your gardening experience. Whether you’re working with limited space or looking to enhance productivity, raised beds provide a practical solution.
One of the standout benefits is the ability to maximize your gardening space. Even in small yards, raised beds can be tailored to fit your area, ensuring you make the most of every inch. The flexibility in design allows you to choose materials that suit your needs, whether it’s durable wood or recycled options, giving your garden a personalized touch.
Control over the bed’s length and dimensions is another significant advantage. This feature enables targeted planting, allowing you to grow a variety of plants efficiently. Additionally, raised beds improve accessibility, reducing the need for bending and making maintenance easier for everyone.
The strategic placement of your raised bed in a spot with ample sunlight ensures optimal growing conditions. Improved drainage and carefully selected materials contribute to better crop yields. Moreover, raised beds help keep weeds at bay and maintain optimal soil conditions, further enhancing your gardening success.
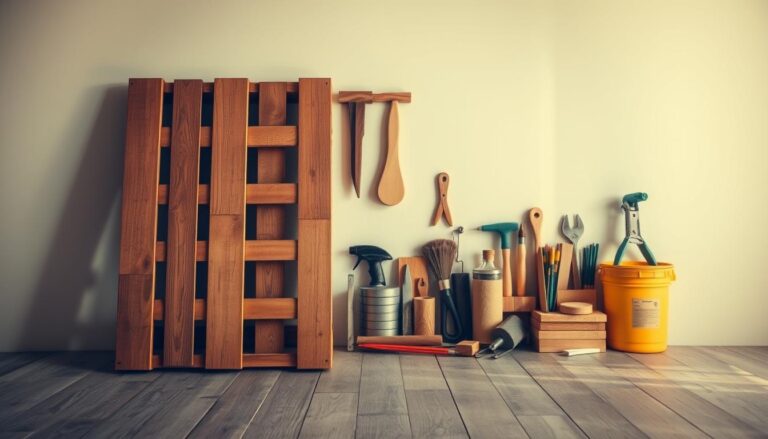
Gathering the right tools and materials is the first step toward a successful raised bed project. Having everything you need ensures the process is smooth and efficient.
To get started, you’ll need a few essential tools. A shovel will help prepare the site, while a level ensures everything is even. A circular saw is perfect for cutting lumber to the right size. These tools will make your project much easier and save you time in the long run.
Selecting the right materials is crucial. Untreated, rot-resistant wood like cedar is a top choice for durability. Pair this with galvanized deck screws for lasting strength. Avoid pressure-treated lumber to keep your soil safe and healthy.
Always wear safety goggles and gloves when using power tools. Taking a little extra time to choose robust materials will pay off in the long run, ensuring your garden’s success for years to come.

Creating a raised garden bed is a straightforward process that can be completed with basic tools and materials. By following these steps, you’ll have a sturdy and functional garden bed ready for planting.
Start by selecting a flat, sunny spot in your yard. Remove any grass, debris, or unwanted vegetation from the area. Use a shovel to clear the ground and ensure it’s level. A level tool will help you achieve an even surface, which is crucial for the stability of your bed.
Next, mark and cut your wooden boards according to your desired length. Use untreated, rot-resistant wood like cedar for durability. Assemble the boards by attaching them at the edges and corners with galvanized screws. Ensure each edge is aligned properly to form a strong frame.

Measure carefully and check for squareness at each step to avoid an uneven structure. Use a level to confirm everything is even before securing the final boards. This attention to detail will ensure your bed is both stable and long-lasting.
A well-prepared base is the cornerstone of a thriving garden. Ensuring your raised bed is level and properly lined not only prevents soil erosion but also promotes healthy plant growth.
Leveling the ground is crucial for a stable structure. Start by removing high spots and adding paver sand to achieve evenness. Proper leveling ensures water distributes evenly, preventing washouts during rainy seasons. Each day’s slight adjustments can significantly impact the structure’s integrity, setting the plan for a successful garden throughout any season.
After leveling, lay a weed barrier cloth or liner at the bottom. This step prevents soil erosion and weed intrusion, maintaining optimal growing conditions. A well-leveled foundation ensures effective drainage and water distribution, essential for healthy plants.
| Benefit | Importance | Impact |
|---|---|---|
| Level Foundation | Prevents soil washing out | Ensures even water distribution |
| Weed Barrier | Prevents weed growth | Reduces maintenance |
| Proper Drainage | Optimizes water distribution | Enhances plant health |

By taking the time to properly level and line your raised bed, you create a solid foundation that supports your garden’s success. This attention to detail will pay off as your plants thrive, season after season.
The foundation of a thriving raised garden bed lies in its soil. Selecting high-quality soil and compost can make a significant difference in plant health and productivity. A well-balanced soil mix ensures optimal growing conditions, supporting robust plant growth and maximizing yields.
A recommended mix for your raised garden bed includes 40% topsoil, 40% well-aged compost, and 20% aeration materials like perlite or peat moss. This blend provides essential nutrients, improves drainage, and enhances root development. Compost plays a vital role by replenishing soil nutrients and maintaining a healthy microbial balance.
To determine the amount of soil needed, consider using a soil calculator. For a typical 4’ x 8’ x 1.5’ raised garden bed, you’ll need approximately 1.7 cubic yards of soil. Bulk soil is often more cost-effective than bagged options, but be cautious of potential contamination in bagged products. Sourcing ingredients from local suppliers ensures freshness and quality.
| Component | Percentage | Benefits |
|---|---|---|
| Topsoil | 40% | Provides essential minerals and structure |
| Compost | 40% | Replenishes nutrients, supports microbial health |
| Aeration Materials | 20% | Improves drainage and root development |

Investing time in preparing your soil ensures a productive and healthy garden. By using a balanced mix and properly calculating your soil needs, you create an ideal environment for your plants to thrive.
Ensuring your raised bed is sturdy and secure is crucial for its longevity and performance. Proper fastening and support techniques will help your structure withstand the weight of soil and plants.
Start by drilling pilot holes in the corners of your boards to prevent splitting. Use galvanized screws to secure the corners tightly, maintaining the structure’s integrity. For added stability, especially in longer beds, install vertical stakes every 12 inches along the sides. These stakes prevent the boards from bowing under the soil’s weight.
Hardware cloth can be attached to the sides for extra support. This durable material helps reinforce the structure and prevents warping. Additionally, adding supports along the sides at precise intervals ensures uniformity and strength.
| Component | Benefit | Impact |
|---|---|---|
| Pilot Holes | Prevents wood splitting | Ensures secure fastening |
| Hardware Cloth | Reinforces sides | Prevents warping |
| Vertical Stakes | Supports board sides | Prevents bowing |
Avoid common pitfalls like over-tightening screws, which can split the wood, and ensure supports are evenly spaced. Proper fastening contributes to the long-term durability of your raised bed, ensuring it remains stable and level for years to come.

Complete your raised garden box with a stylish lip that serves double duty. This feature not only adds a polished look but also provides a convenient seating option or storage space for gardening tools.
Start by making precise miter cuts at each corner of the lip. These 45-degree cuts ensure a seamless fit. Attach the lip securely to maintain a level finish, reinforcing the structure’s integrity. This attention to detail enhances both the appearance and durability of your garden box.
The lip’s dual purpose as a bench offers extra functionality. It can be a spot to sit while tending to plants or a place to store tools. For a cohesive look, choose a design that complements your garden box’s style, ensuring it blends naturally with the surroundings.
By adding these finishing touches, you create a functional and visually appealing garden box. The lip not only enhances the structure but also offers practical uses, making your gardening experience more enjoyable and efficient.
Selecting the appropriate wood for your garden bed is a crucial decision that affects both aesthetics and durability. With various options available, understanding the differences helps you make an informed choice.
Natural woods like cedar and redwood are popular for their durability and resistance to rot. Cedar, for instance, is a top choice due to its natural oils that repel insects and withstand decay. Redwood is another excellent option, offering a similar durability profile. Both are untreated, making them safer for your plants and soil.
Pressure-treated wood is infused with chemicals to prevent rot, making it durable. However, these chemicals can leach into the soil, posing risks to plants and humans. It’s generally not recommended for edible gardens but can be used for ornamental beds with proper sealing.
Always account for actual lumber dimensions, as nominal sizes may differ. Use galvanized screws to secure the wood, ensuring longevity. Drill pilot holes to avoid splitting the lumber, especially in harder woods like juniper.
If using pressure-treated wood, consider sealing it with a food-safe, plant-based sealer. This step helps protect the wood while minimizing chemical leaching into the soil.
Your choice of wood significantly impacts your garden’s appearance and functionality. Natural woods offer a beautiful, durable option, while pressure-treated lumber provides a budget-friendly alternative. Whichever you choose, proper preparation and sealing will ensure your garden bed remains a thriving space for years to come.
Take your raised garden bed to the next level with creative modifications that blend functionality and style. Whether you’re aiming for a modern look or a rustic charm, these ideas will help you customize your space to meet your unique needs.
Consider the benefits of integrating features like seating or storage. For instance, a lip around the edges can serve as a bench or tool holder. These modifications not only add functionality but also contribute to the overall beauty of your garden.
Remember, every modification should focus on durability and ease of maintenance. With a little creativity, your raised garden bed can become a stunning and functional centerpiece of your outdoor space.
Enhancing drainage and mulching strategies can significantly improve plant health and yield. These techniques are especially effective when tailored to your specific garden site, ensuring optimal growing conditions for your plants.
One advanced idea to improve drainage is incorporating a layer of coarse sand or gravel at the bottom of your garden. This simple modification helps prevent waterlogged soil, keeping roots healthy and strong. Another effective strategy is creating a slight slope in your bed to ensure water flows naturally away from the root zone.
Mulching is a powerful tool for retaining soil moisture and suppressing weeds. Apply a 2-inch layer of organic mulch like wood chips or straw, keeping it a few inches away from plant stems to prevent rot. For an innovative approach, consider using living mulch, which not only retains moisture but also enriches the soil as it decomposes.
Dividing your garden into distinct zones or pieces can enhance productivity. Separate plants based on their water and sunlight requirements, ensuring each zone is managed efficiently. This approach not only improves yield but also simplifies maintenance.
Experienced gardeners often use a mix of compost and perlite to create a well-draining soil blend. Another idea is installing drip irrigation systems that deliver water directly to the roots, reducing evaporation and runoff. These practices support healthy root growth and maximize water efficiency.
By continuously learning and adapting these advanced techniques, you can elevate your gardening practices, ensuring a thriving and productive garden year after year.
With careful planning and execution, your raised garden project can become a thriving space that enhances your outdoor area. By following the step-by-step guidance, you’ve transformed your yard into a functional and beautiful garden that offers improved support for your plants and optimizes your garden area.
The benefits of a well-constructed garden are clear. It not only enhances the visual appeal of your space but also provides a productive area for growing your favorite plants. The optimized garden area ensures that every inch is used efficiently, making it ideal for both small and large spaces.
Don’t wait—start your project today! Use the tips and resources provided to create a durable and functional garden that will bring you joy for years to come. Remember, gardening is not just about growing plants; it’s about connecting with nature, being creative, and embracing sustainable living.
Stay engaged with more advanced tips and future projects to keep your garden thriving. Happy gardening!