Physical Address
304 North Cardinal St.
Dorchester Center, MA 02124
Physical Address
304 North Cardinal St.
Dorchester Center, MA 02124
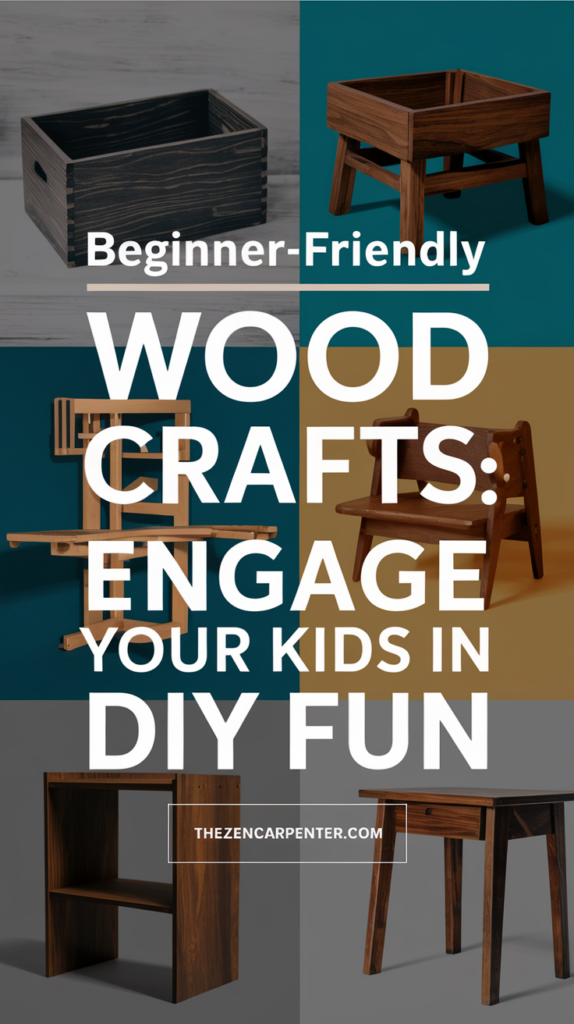
Woodworking is a fantastic way to teach kids creativity, problem-solving, and hands-on skills while giving them a sense of accomplishment. Working with wood helps develop fine motor skills, patience, and an appreciation for craftsmanship—all while having fun!
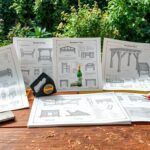
In this guide, you’ll learn why woodworking is beneficial for kids, the best beginner-friendly tools, and step-by-step instructions for simple projects that children can safely build with guidance.
Let’s dive into the world of woodworking and create something amazing with your little builder! 🛠✨
Woodworking isn’t just about building things—it’s an educational experience that benefits kids in many ways:
✔️ Encourages Creativity – Kids get to use their imagination to design and decorate their projects.
✔️ Teaches Problem-Solving – They learn how to measure, cut, and assemble pieces, improving logical thinking.
✔️ Develops Fine Motor Skills – Handling small nails, screws, and sandpaper strengthens coordination.
✔️ Builds Patience & Focus – Woodworking takes time, and kids learn to follow instructions step by step.
✔️ Boosts Confidence – Completing a project gives kids a sense of accomplishment and pride.
By starting with simple, safe projects, kids will gain confidence and skills that they can build on as they grow!
Before jumping into projects, safety is key! Here are some important tips:
🛑 Always Supervise – Kids should never use tools without adult supervision.
🛠 Use Age-Appropriate Tools – Start with basic tools like sandpaper, a hammer, and a hand drill. Avoid power tools for younger kids.
👓 Wear Safety Gear – Safety glasses and gloves protect little hands and eyes.
📏 Measure & Mark First – Teach kids to plan before cutting to avoid mistakes.
🪵 Use Softwoods – Pine, cedar, or balsa wood are easy for kids to handle and cut.
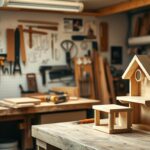
Now that we’re ready, let’s get into fun, simple woodworking projects your kids will love!

✔️ Sanding and smoothing wood
✔️ Painting and decorating
✔️ Personalizing with letters or designs
🔹 Small piece of wood (8”x4” or similar)
🔹 Sandpaper
🔹 Paints or markers
🔹 Stencils or stickers
🔹 Optional: Wood glue and wooden letters
1️⃣ Sand the wood until it’s smooth.
2️⃣ Paint the background in a favorite color and let it dry.
3️⃣ Add a name or design using stencils, stickers, or wooden letters.
4️⃣ Seal it with a clear coat for durability.
This makes a great bedroom decoration and introduces kids to sanding and painting techniques!
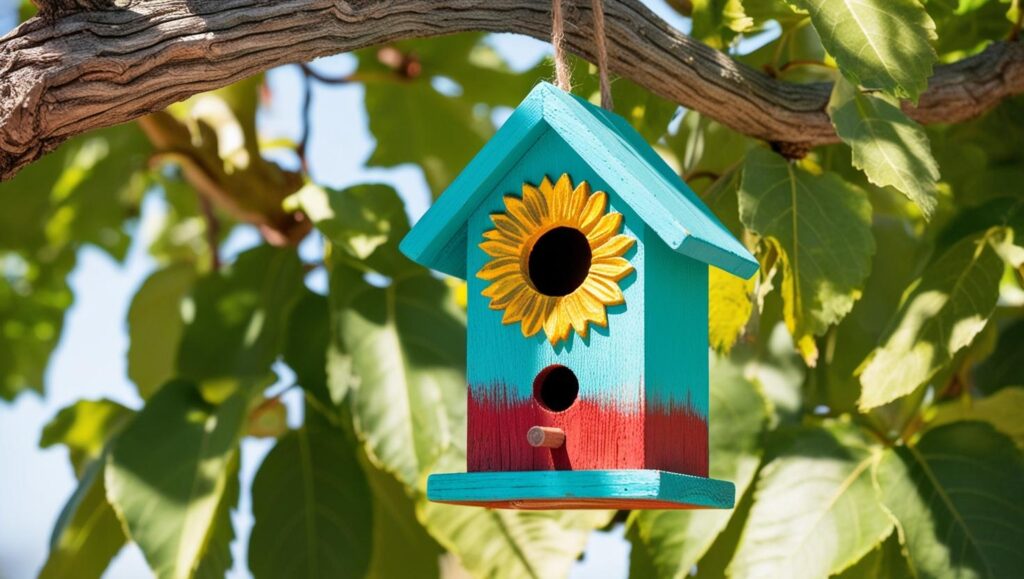
✔️ Measuring and marking wood
✔️ Assembling pieces using nails or wood glue
✔️ Creating a functional structure
🔹 5 small wood panels (for the sides, roof, and base)
🔹 Sandpaper
🔹 Wood glue or small nails
🔹 Hammer (optional for older kids)
🔹 Paints and brushes
1️⃣ Sand the wood for smooth edges.
2️⃣ Assemble the four walls using glue or nails.
3️⃣ Attach the roof and base securely.
4️⃣ Decorate the birdhouse with paint and let it dry.
5️⃣ Hang it outside and watch birds enjoy their new home!
This project teaches basic assembly skills and gives kids a fun way to support local wildlife!
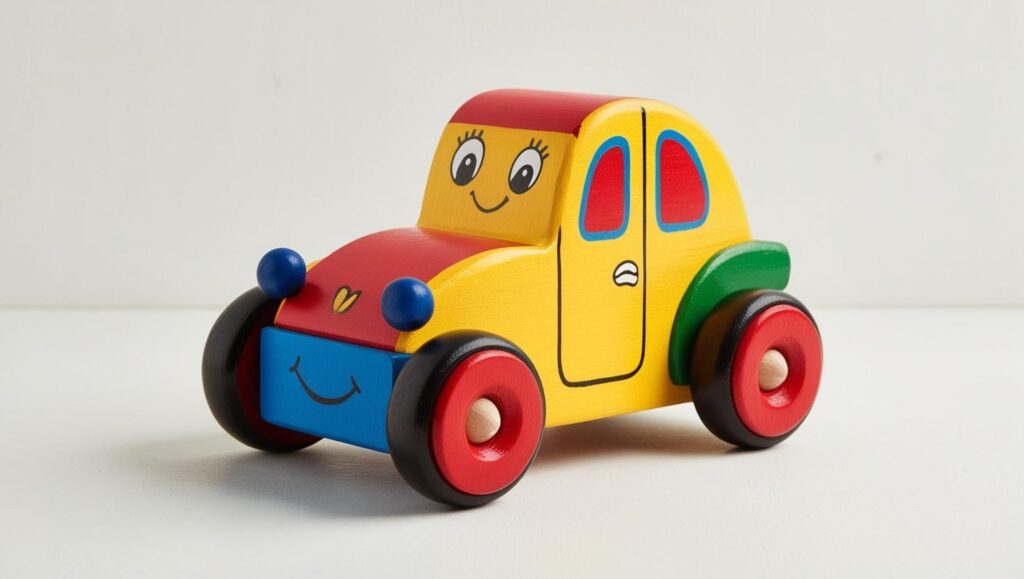
✔️ Sanding and shaping wood
✔️ Assembling moving parts
✔️ Painting and decorating
🔹 A small block of wood (4”x2”)
🔹 Wooden wheels (pre-made or cut from dowels)
🔹 Wood glue
🔹 Sandpaper
🔹 Paints and brushes
1️⃣ Sand the wood block to smooth out rough edges.
2️⃣ Drill small holes for the wheel axles (adult help needed).
3️⃣ Attach the wheels using wood glue or small dowels.
4️⃣ Paint and decorate the car to make it unique!
This project introduces basic mechanics and lets kids create a fun, playable toy!
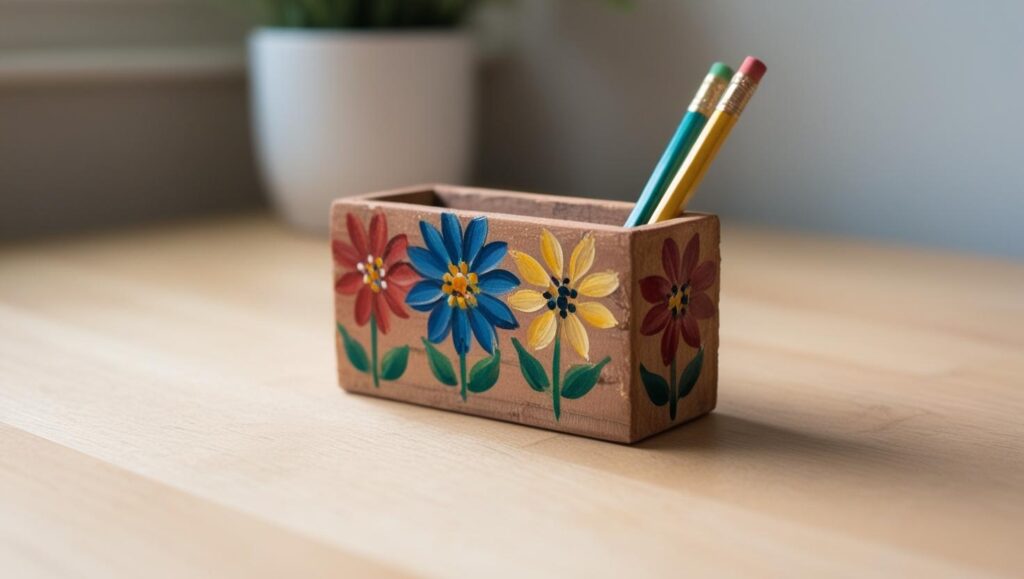
✔️ Drilling small holes (with adult help)
✔️ Measuring and marking positions
✔️ Sanding and finishing wood
🔹 A small wooden block (3”x3”)
🔹 Sandpaper
🔹 Drill (adult use)
🔹 Paints or markers
1️⃣ Sand the wooden block to remove rough edges.
2️⃣ Drill holes evenly spaced to hold pencils.
3️⃣ Decorate with paint or carve designs into the surface.
4️⃣ Seal with a clear coat for durability.
This practical and simple project helps kids stay organized while learning how to use measurement and spacing techniques.
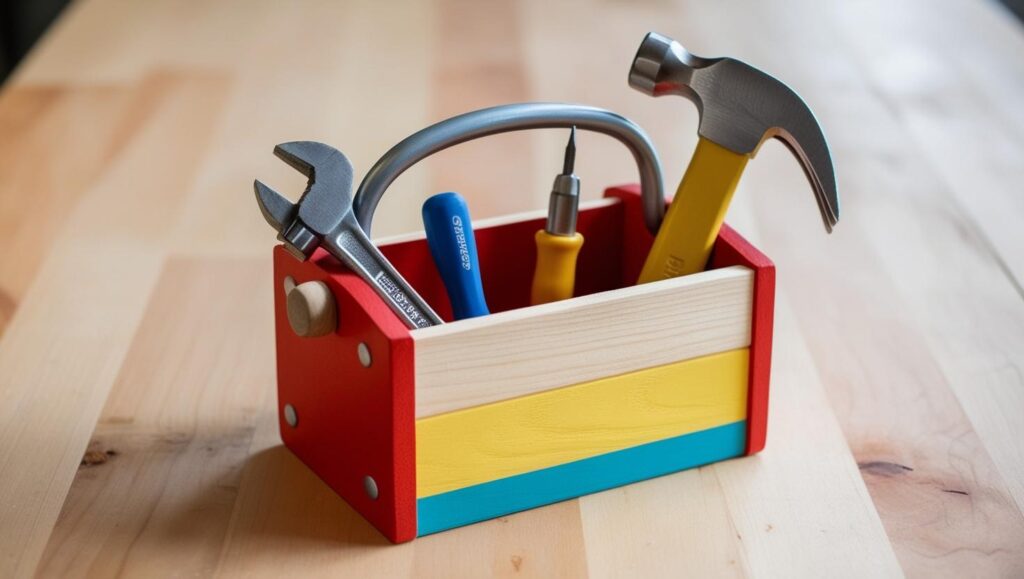
✔️ Cutting and assembling wood
✔️ Creating a functional storage solution
✔️ Using simple fasteners like nails or screws
🔹 5 pieces of wood (for sides, base, and handle)
🔹 Wood glue or nails
🔹 Hammer or screwdriver (with adult help)
🔹 Sandpaper
1️⃣ Sand all wood pieces to remove splinters.
2️⃣ Assemble the sides using nails or wood glue.
3️⃣ Attach a wooden dowel as a handle.
4️⃣ Paint or stain to personalize the toolbox.
Perfect for storing small tools, toys, or art supplies!
Woodworking is an amazing way for kids to develop hands-on skills, patience, and creativity while making something they can proudly call their own. Starting with simple, safe projects helps build confidence and excitement for future DIY adventures.
✅ Start with pre-cut wood if you don’t have a saw.
✅ Let kids choose their own colors and designs to boost creativity.
✅ Make it a fun bonding activity by working together on projects!
Which woodworking project will you try first? Let us know in the comments! 😊🛠
This guide teaches woodworking fundamentals while ensuring engagement, safety, and hands-on learning for kids. Let me know if you’d like more details or additional project ideas! 🚀