Physical Address
304 North Cardinal St.
Dorchester Center, MA 02124
Physical Address
304 North Cardinal St.
Dorchester Center, MA 02124
Discover 5 easy DIY woodworking projects for beginners and start your creative journey with these fun and simple ideas.
As I started exploring the world of woodworking, I was amazed by the variety of beginner woodworking projects that can be completed with ease, such as a wooden chopping board and serving tray, which can be made in approximately 2 hours1. I found that beginner woodworking projects like these can help develop skills and build confidence, and that’s why I’m excited to share these easy DIY wood projects with you. Woodworking for beginners can be a fun and rewarding hobby, and with the right guidance, anyone can create beautiful and functional pieces.
From simple bookshelves to stylish planter boxes, there are countless easy DIY wood projects to choose from, and many of them can be completed without power tools, utilizing basic tools like a saw and hammer2. With over 50 unique DIY woodworking project ideas suitable for beginners3, the possibilities are endless, and I’m excited to explore them with you. Whether you’re looking to create a functional piece of furniture or a decorative item, woodworking for beginners can be a great way to express your creativity and bring your ideas to life.

As a beginner, it’s essential to start with simple woodworking projects that can help you develop your skills and build confidence. Beginner-friendly woodworking ideas, such as building a birdhouse or a picture frame, are great ways to get started4. These projects are designed to be easy to follow and require minimal tools and materials, making them perfect for those new to woodworking.
According to the second source, small wood projects are an excellent way to hone your skills, test new techniques, and create beautiful and functional pieces in a short amount of time4. Some popular beginner woodworking plans include building a bookcase, a cutting board, or a simple bench. These projects can help you develop your problem-solving skills, improve your hand-eye coordination, and create something with your own hands.
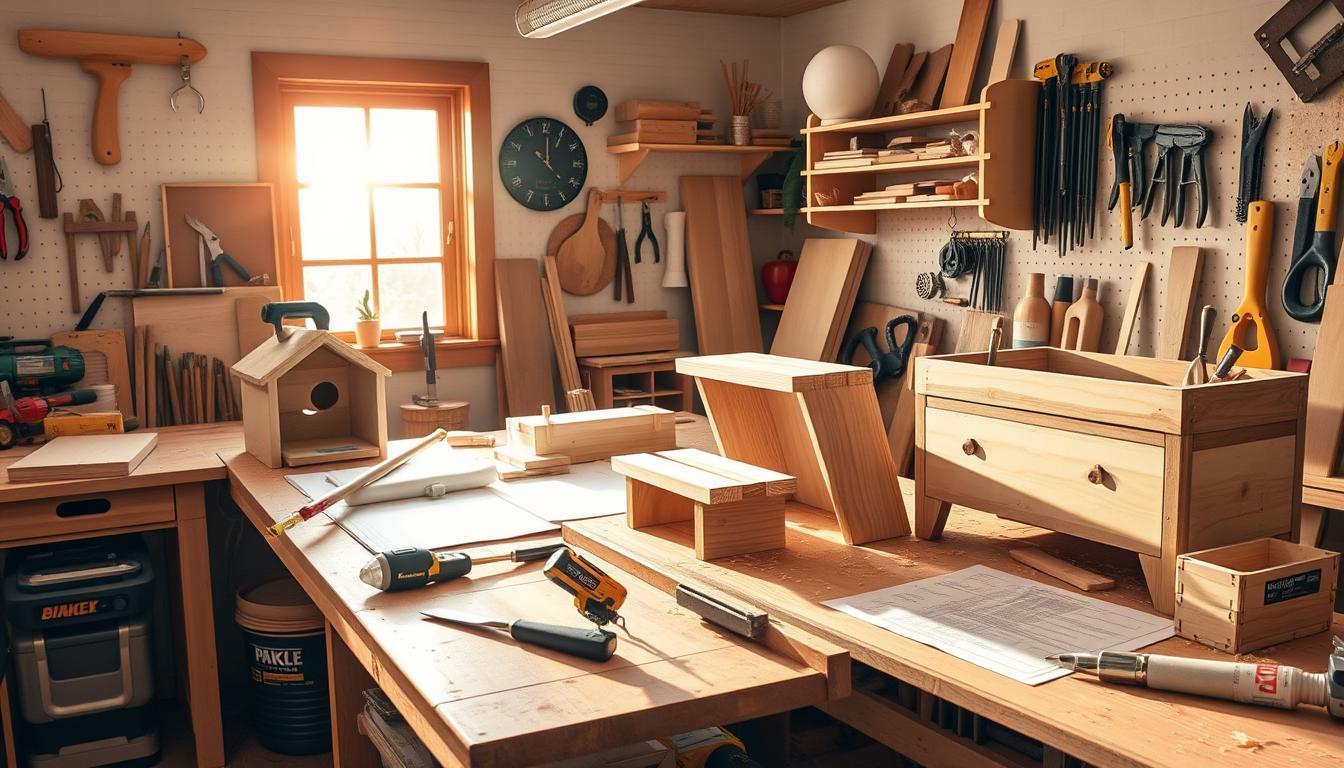
When choosing a beginner woodworking project, it’s essential to consider the tools and materials you’ll need. A saw, a drill, and a sandpaper are some of the basic tools you’ll need to get started. You can always add more tools to your collection as you progress in your woodworking journey. Some beginner-friendly woodworking ideas, such as building a coat rack or a shoe organizer, can be completed with basic tools and materials5.
Remember, the key to success in woodworking is to start small and be patient with yourself. Don’t be afraid to make mistakes – they’re an essential part of the learning process. With practice and dedication, you can create beautiful and functional pieces that you’ll be proud to display in your home. So, why not get started with some simple woodworking projects today and see where your creativity takes you?

![]()
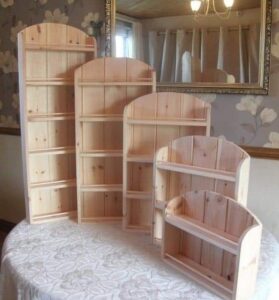
As a beginner in woodworking, it’s essential to start with simple projects that can help build confidence and skills. One such project is a simple bookshelf, which can be built using basic materials like wood, screws, and a drill. According to the first source, a simple bookshelf can be constructed in approximately 1 to 2 days6. This project is perfect for woodworking projects for beginners, as it requires minimal tools and materials.
The design of the bookshelf can be customized to fit individual needs, and it’s an excellent way to practice measuring, cutting, and assembling. The verticals used for the bookshelf are 10 inches wide at the bottom, and the dadoes for the verticals are cut slightly wider by about 1/32 inches to allow for easier assembly6. This project is an excellent example of woodworking project ideas for newbies, as it’s easy to follow and requires minimal expertise.
When building the bookshelf, it’s essential to consider the type of lumber used, such as knotty pine, and the dimensions of the legs, which can be 1-1/2 inches square, cut from 2x4s7. The total number of shelves can be 5, with each shelf measuring 3/4 inches x 7-1/4 inches x 22-1/2 inches7. The bookshelf can be assembled using biscuit joints, and the top can be attached using 1-1/4 inches screws7.
To get started with this project, you’ll need to gather the necessary materials, including wood, screws, and a drill. You can follow the step-by-step instructions to build the bookshelf, and customize it to fit your needs. With this project, you’ll learn the basics of woodworking, including measuring, cutting, and assembling, and you’ll have a beautiful bookshelf to display your favorite books.
Click here to download over 10,000 Woodworking Plans!
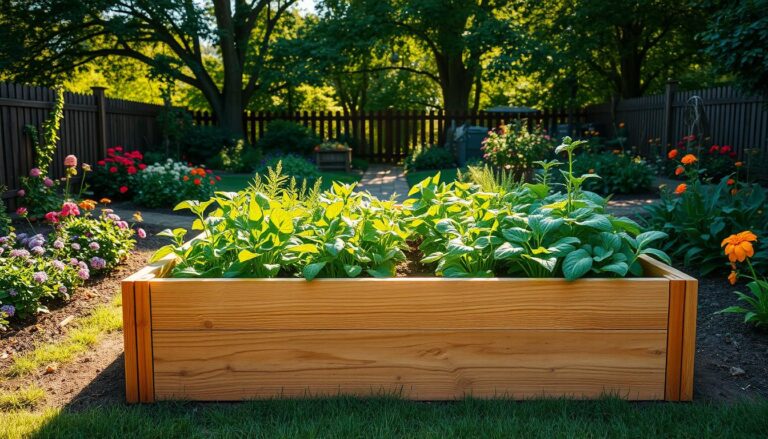
As a beginner, it’s essential to start with quick woodworking projects for novices that can be completed in a short amount of time. The stylish planter box is an excellent example of such a project, requiring minimal materials and tools8. To get started, you’ll need to design your planter box, taking into account the size, shape, and material. Consider using cedar wood, which is rot and weather-resistant, making it ideal for outdoor projects9.
The building process involves cutting, assembling, and sanding the wood. You’ll need to cut 20 pieces of 1×4, each 16 inches long, and 4 pieces of 2×2, each 20 inches long10. The assembly process requires 1 ¼” screws for reinforcement and 1 ½” brad nails to attach trim pieces to the planter box8. Don’t forget to add a 1 ¼” gap between each 2×6 piece at the bottom for drainage8.
Once you’ve assembled the planter box, you can add a personal touch with paint and sealant. Use exterior dark gray/black latex paint and apply two coats, with a recommendation for a third coat on the end-grain for water protection9. This project is perfect for beginner woodworking projects, as it requires minimal tools and materials, and the instructions are easy to follow. With this project, you’ll learn the basics of woodworking, including cutting, assembling, and finishing, making it an excellent quick woodworking project for novices.

By following these steps and tips, you’ll be able to create a stylish planter box that adds a touch of elegance to any room, making it a great beginner woodworking project8.
As a beginner in woodworking for beginners, I’ve found that creating a rustic picture frame is an excellent easy DIY wood project to start with. According to the third source, there are 50 great beginner woodworking projects that can help you get comfortable with the basics of building with wood. To get started, you’ll need to choose the right wood, taking into account the type, size, and texture.
The assembly steps involve cutting, assembling, and sanding the wood. For a perfect finish, it’s estimated that 30 minutes is sufficient if using nicer wood11. The total time for paint to dry is approximately 1 hour with thin layers11. You’ll also need to consider the required wood dimensions, including picture height, picture width, and board width, to calculate the amount of wood needed.
Here are some key considerations for building a rustic picture frame:
With these easy DIY wood projects, you’ll be able to create a beautiful rustic picture frame that adds a touch of warmth and coziness to any room. As a beginner in woodworking for beginners, it’s essential to start with simple projects like this one, which requires minimal tools and materials12.

By following these steps and considering the necessary materials and tools, you’ll be able to create a stunning rustic picture frame that showcases your favorite memories. With practice and patience, you’ll become more comfortable with the basics of woodworking, including cutting, assembling, and finishing, and be able to take on more complex easy DIY wood projects.
As a beginner, it’s essential to start with beginner-friendly woodworking ideas that can help build confidence and skills. One such project is a functional coat rack, which can be built using a 6 ft. 1×4 and coat hooks13. This project is perfect for those looking for beginner woodworking plans that are easy to follow and require minimal tools and materials.
When it comes to storage solutions, consider the size, shape, and material of the coat rack. The construction techniques involve cutting, assembling, and sanding the wood. For a smooth finish, sanding up to 220 grit is recommended13. Additionally, using a 3/8 inch oak dowel rod for doweling can provide a sturdy structure13.
Customization options are also available, such as adding hooks, shelves, or a bench. According to the data, a spacing of at least 3/4 inch should be left between hooks to allow ease of access14. Furthermore, using multiple types of wood, such as 2×2’s, plywood scrap strips, 1×3 or 1×4 boards, can provide diverse options for building a coat rack with different aesthetics and functional outcomes14.
With these beginner woodworking plans, you can create a functional coat rack that meets your needs and provides a convenient place to hang your coats, hats, and bags. By following these steps and using the right materials, you can achieve a professional-looking finish and enjoy the benefits of your handmade coat rack15.
As we wrap up our beginner woodworking projects, the final task is to create an easy and charming birdhouse16. This project not only allows you to put your newfound skills to the test but also provides an opportunity to attract feathered friends to your outdoor space.
To get started, you’ll need to choose the right materials16. The cost of materials for a birdhouse typically ranges between $10-$15 if purchasing wood new16. Each 1×6 board (at least 60″ long) can yield 3 birdhouses when using two 8-ft boards16. The suggested entrance hole size for the birdhouse is 1-1/4″ (32mm) in diameter16.
The construction guide involves cutting, assembling, and sanding the wood17. The recommended spacing for pilot holes is equally spaced, with three holes on each side of the board16. The length of the sides of the birdhouse is cut to 7-3/4″ long16, and the roof pieces should be approximately 8″ long to ensure proper coverage16. The bottom piece width should be about 3-3/4″ and designed for a light friction fit16. The suggested number of exterior screws used for fastening the bottom piece is two, located at opposite corners16.
For the finishing touches, the recommended application for paint is three coats for both the roof and walls16. With this project, you’ll not only learn essential woodworking skills but also create a delightful addition to your outdoor space that can attract birds in a matter of hours16. Enjoy the satisfaction of crafting your very own birdhouse and the joy of observing feathered visitors in your backyard.